
Tutorials | Enter BIOS Settings with One Click!
Imagine this scenario: You buy a new computer or upgrade your system, and you need to adjust BIOS settings to disable a feature or change the boot priority.
You start frantically pressing keys like F2, Delete, or Esc during startup, but you fail repeatedly because the timing is too precise! Sometimes, you end up rebooting five times in a row without success.
This highlights the need for a smarter approach, especially in our fast-paced tech era. What if I told you could enter the BIOS by simply right-clicking your mouse directly from the desktop?
In this article, we’ll reveal professional steps to pull off this trick—whether through registry edits —along with critical warnings to ensure success without errors.
Right-Click: Create a One-Click Shortcut to Enter BIOS
Our method relies on adding a shortcut to the right-click context menu. We’ll create a shortcut that grants instant access to the BIOS.
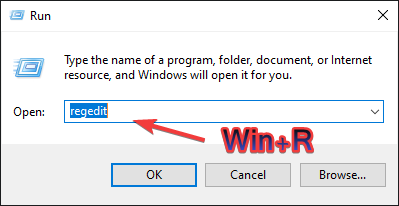
⏩ Step 1: Open the “Run” Window
Press Win + R, type regedit, and hit Enter.
You’ll see security warnings → Click Yes to proceed.
⏩ Step 2: Navigate to the Registry Path
Go to this path in the left sidebar:
HKEY_CLASSES_ROOT\DesktopBackground\Shell
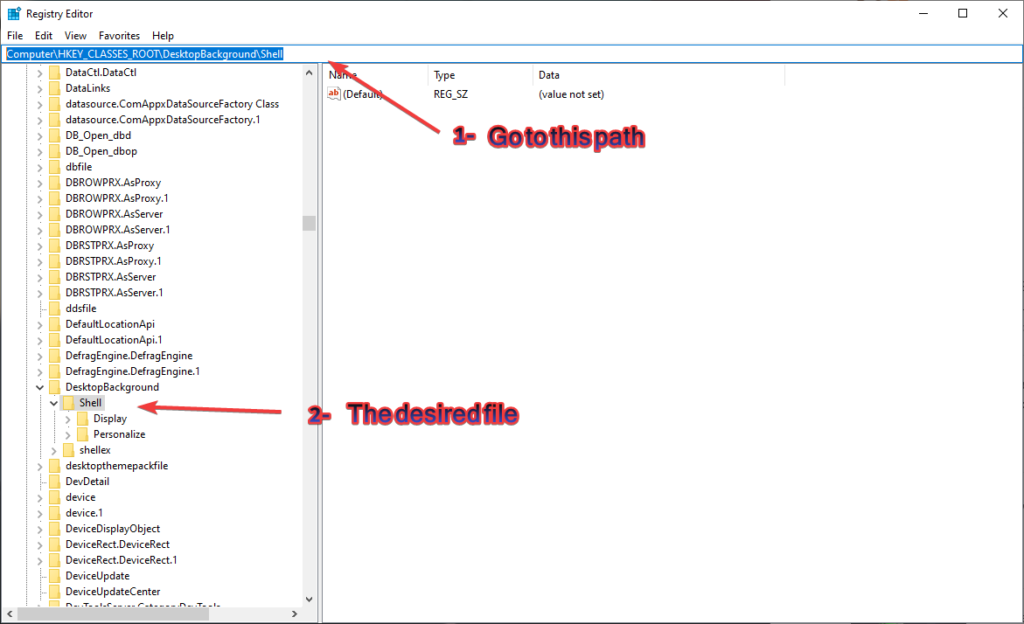
Here, you’ll see a list of existing right-click menu shortcuts.
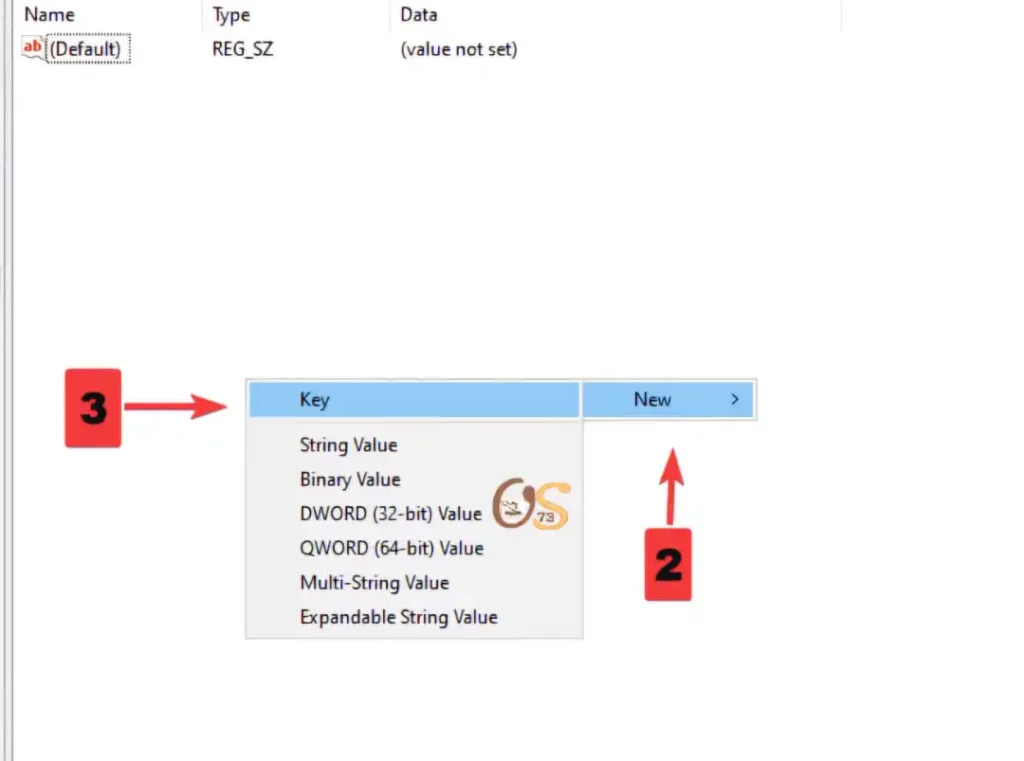
⏩ Step 3: Create a New Key Named “Open UEFI Settings”
Right-click the Shell folder → New → Key → Name it:
BIOS (you can use any preferred name).

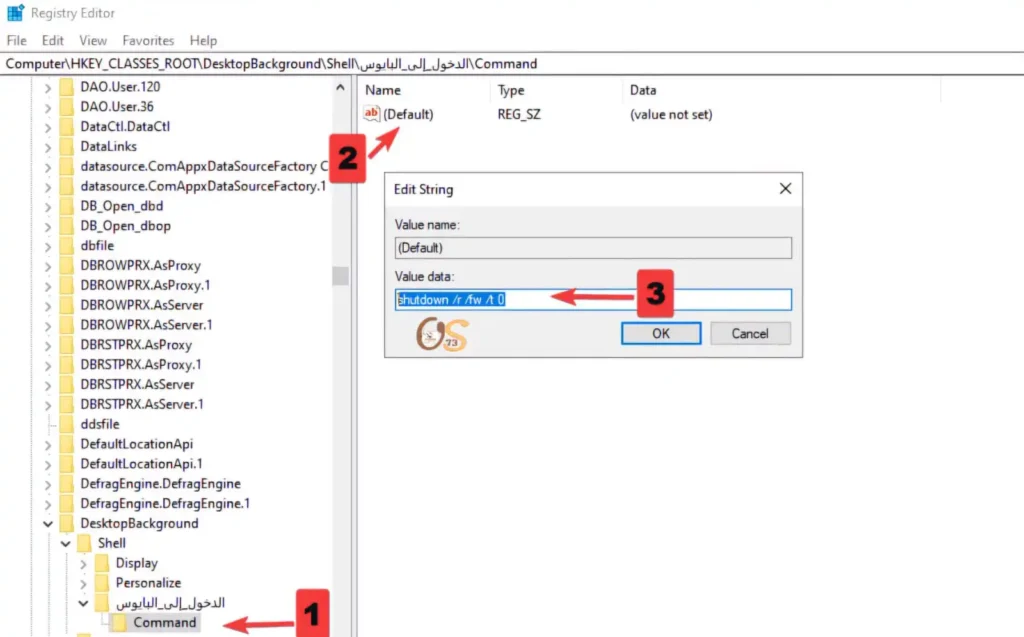
⏩ Step 4: Enter the Magic Command!
Inside the new key, create a subkey named Command.
Double-click the Default value → Paste this command:
shutdown /r /fw /t 0
(Note: This command directs the system to reboot and enter BIOS immediately.)
What next? Now it’s time to test the shortcut yourself
1- Right-click any empty area on your desktop → You’ll see a new option labeled “BIOS” → Click it!
2- Your PC will reboot instantly and take you directly to the BIOS/UEFI interface—no key presses required!
For aesthetics: add an icon to the shortcut
To customize further and add an icon:
⏩ Step 1: Download an Icon
Search online for BIOS-related icons, download one, and convert it to .ico format. Many websites offer free icon conversion.
⏩ Step 2: Edit the Registry to Add the Icon
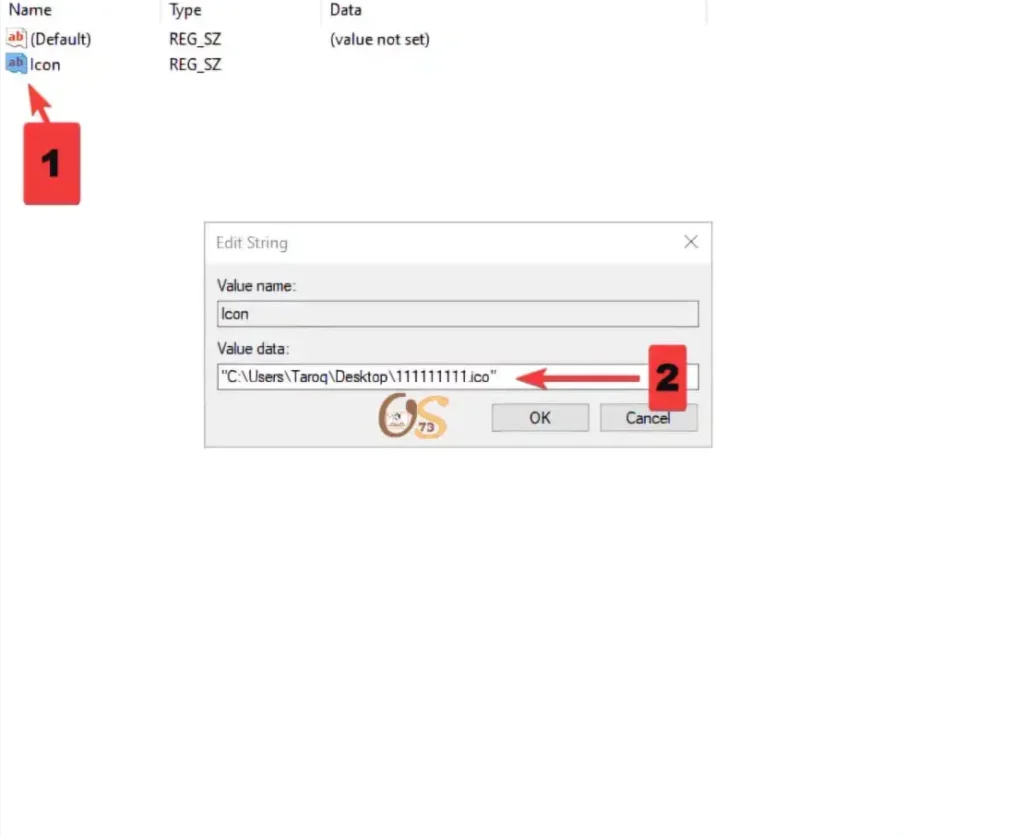
Go back to the Command key → Right-click the right panel → New → String Value → Name it Icon.
Double-click the new value → Enter the icon’s file path, e.g.:
C:\Icons\bios_icon.ico
To copy the icon’s path: Hold Shift → Right-click the icon → Select “Copy as path“.
(Note: Replace the path with the actual location on your system.)
⏩ Step 3: Test the Result
Right-click the desktop → The BIOS shortcut will now appear with your custom icon!
Conclusion: Goodbye Traditional Methods- Hello Smart Solutions!
Now that you’ve learned how to enter BIOS via a right-click shortcut, you no longer need to struggle with frantic key presses or perfect timing during boot.
This trick isn’t just a time-saver—it’s a gateway to exploring advanced settings that once seemed daunting. Try it today, and share this article with friends who face the same struggle! 💻✨